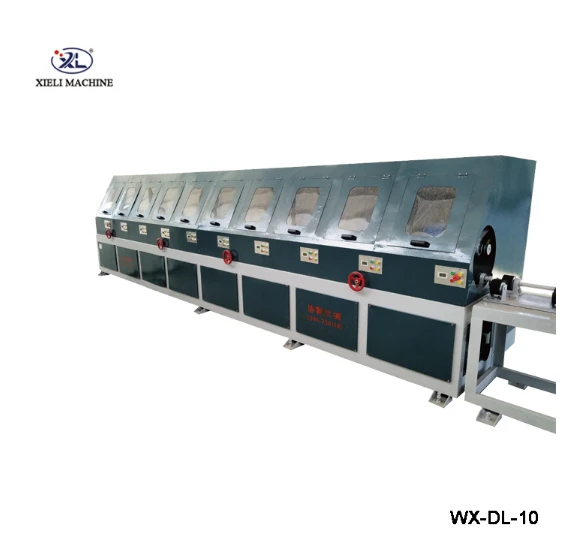
Rebuilding a Centerless Grinder A Comprehensive Guide
Centerless grinders are essential machines in the manufacturing industry, allowing for high precision and efficiency in the grinding process. Over time, like any machinery, these grinders may show signs of wear and tear. A rebuild can restore their performance, ensuring that your production process remains smooth and effective. Here's a comprehensive guide on how to approach the rebuilding of a centerless grinder.
Step 1 Assessing Condition
Before committing to a rebuild, it’s crucial to assess the machine's overall condition. Examine the grinding wheels, motors, and control systems for signs of damage or wear. Take note of vibrations, unusual noises, and output quality. These factors will help determine the extent of the rebuild required.
Step 2 Disassembly
Carefully disassemble the grinder, documenting the process with photos or notes to aid reassembly. Remove the grinding wheels, regulating wheel, and any guards to access the internal components. It’s essential to keep track of all parts, including screws and small components, to avoid loss.
Step 3 Cleaning
Once disassembled, thoroughly clean all parts. Use appropriate cleaning solutions to remove dust, debris, and coolant residue. This step is crucial as contaminants can affect the functionality of the rebuilt grinder. A clean machine also allows for a more accurate inspection of worn or damaged components.
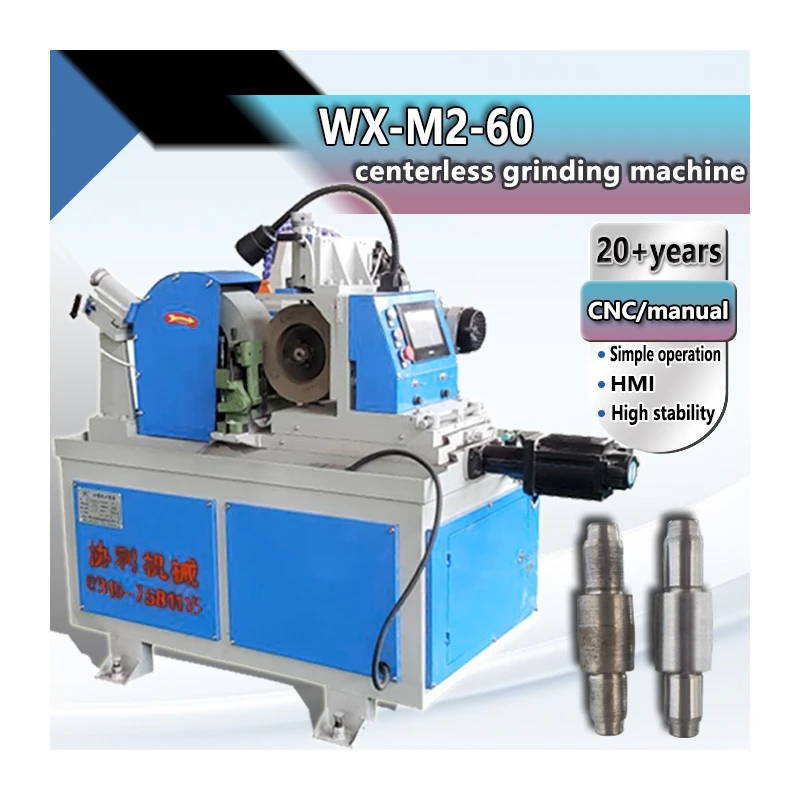
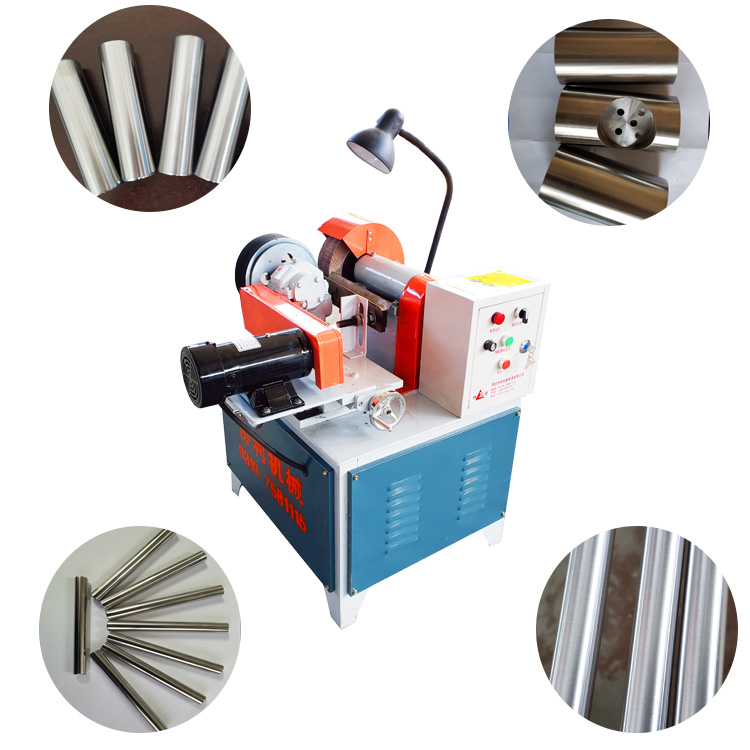
centerless grinder rebuild

Step 4 Replacement of Worn Parts
Identify and replace any worn or damaged parts. This may include bearings, belts, and electrical components. Consider upgrading to modern components if available, as they can improve efficiency and reliability. For critical components like grinding wheels, ensure you select the right specifications to match your production needs.
Step 5 Reassembly and Alignment
Once all parts are cleaned and replaced, reassemble the machine following the documentation from the disassembly phase. Proper alignment of the grinding and regulating wheels is vital to achieve precision in grinding. Utilize alignment tools and adjustments to ensure optimal positioning.
Step 6 Testing and Calibration
After reassembly, conduct thorough testing. Run the machine at various speeds and feed rates while monitoring output quality. Make necessary adjustments to the settings to ensure precision and efficiency. This testing phase is critical to ensure that the rebuilt centerless grinder operates to its full potential.
In conclusion, rebuilding a centerless grinder can greatly extend its lifespan and improve productivity. By following these steps—assessment, disassembly, cleaning, replacement, reassembly, and testing—you can ensure a successful rebuild. Regular maintenance and occasional rebuilds are investments that pay off in enhanced performance and reliability in your manufacturing processes.

