Homemade Centerless Grinder A Step-By-Step Guide
In the world of metalworking, precision and efficiency are paramount. One of the essential tools for achieving these qualities in rod and tube processing is the centerless grinder. Unlike traditional grinders that require the workpiece to be held in place, a centerless grinder uses a unique setup that allows for continuous grinding of cylindrical pieces. While commercial options can be costly, building a homemade centerless grinder can be a rewarding project for enthusiastic DIYers and metalworking hobbyists. This article will guide you through the basics of creating your own centerless grinder.
Understanding the Centerless Grinding Process
Centerless grinding uses two wheels the grinding wheel and the regulating wheel. The workpiece is positioned between these two wheels, where the grinding wheel performs the actual cutting. The regulating wheel, on the other hand, controls the feed rate and helps maintain the desired diameter of the workpiece. The significant advantage of centerless grinders is that they allow for the continuous feeding of materials, making them more efficient for mass production.
Materials and Tools Required
To build your homemade centerless grinder, you will need the following materials and tools
1. Base A sturdy base made from metal or hardwood to provide stability. 2. Wheels Two wheels, one for grinding and one for regulating purposes. You can repurpose old wheels or purchase suitable ones. 3. Motor A motor to drive the grinding wheel, ideally a variable speed motor to adjust the feed rate according to your requirements. 4. Frame materials Steel or aluminum rods to create a robust support structure for the wheels. 5. Bearings High-quality bearings to ensure smooth rotation of the wheels. 6. Tools Basic hand tools like a drill, welder, and a screwdriver. Depending on your design, you might need more specific tools.
Step-by-Step Construction
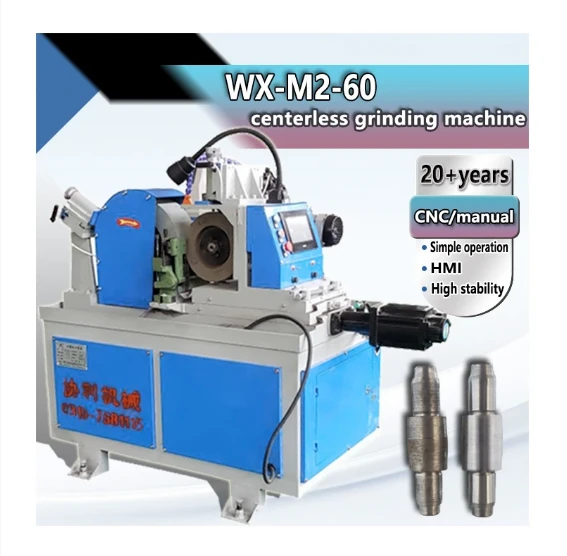
homemade centerless grinder product

1. Design the Layout Before you start building, sketch out your design. Determine the height, width, and overall dimensions. Make sure to account for the spacing between the wheels and the appropriate angles for the workpiece to rest.
2. Cut the Frame Using your chosen frame material, cut the pieces to fit your design. This may include vertical and horizontal supports, as well as mounts for your wheels.
3. Mount the Wheels Secure the grinding wheel and the regulating wheel onto the frame. Use bearings for a smooth rotation. Ensure the wheels are aligned correctly to avoid uneven wear or vibrations during operation.
4. Install the Motor Attach your motor to the setup, ensuring it provides enough power to the grinding wheel. If you’re using a variable speed motor, incorporate a speed controller for better flexibility in operation.
5. Test the Alignment Before you start grinding material, run a test on the setup to ensure everything is aligned correctly. Adjust the wheel positions if necessary to achieve optimal contact with the workpiece.
6. Safety Measures Equip your homemade grinder with safety features. This might include guards around the wheels and a dust collection system to minimize debris and keep your workspace safe.
Conclusion
Creating a homemade centerless grinder can be an exciting venture that not only saves on costs but also allows you to customize the machine according to your specific needs. With a robust setup and proper alignment, you can achieve high-precision grinding results. Always prioritize safety when working with any metalworking tools, and enjoy the process of bringing your innovative project to life! Whether for a hobby or a small-scale manufacturing operation, your homemade centerless grinder can help elevate your metalworking projects to new heights.