DIY Centerless Grinder A Complete Guide
In the realm of metalworking and fabrication, precision is paramount. One of the tools that can help achieve unparalleled precision is a centerless grinder. While industrial machines can be prohibitively expensive, a DIY centerless grinder allows enthusiasts and hobbyists to create their own devices with tailored specifications. This article will guide you through the basics of constructing a DIY centerless grinder, its benefits, and essential tips for success.
Understanding Centerless Grinding
Centerless grinding is a machining process that uses abrasive cutting to remove material from a workpiece. Unlike traditional grinding methods that rely on the workpiece being held securely between centers, a centerless grinder uses a unique setup involving three main components a grinding wheel, a regulating wheel, and the workpiece itself. The workpiece is fed between these two wheels, which allows for continuous grinding without the need for an additional setup.
Benefits of a DIY Centerless Grinder
1. Cost-Effective Commercial centerless grinders can cost thousands of dollars. Building your own can significantly reduce expenses while still achieving the desired functionality.
2. Customization EVERY professional and hobbyist has different requirements. A DIY project gives you the freedom to customize the dimensions, grinding wheel type, and speed according to your preferences.
3. Learning Experience Constructing your own grinder can deepen your understanding of machining principles and improve your skills in metalworking.
4. Satisfaction There’s immense gratification in creating your own tools and equipment. A DIY project fosters a sense of accomplishment and pride.
Materials Needed
To build your own centerless grinder, you'll need the following materials
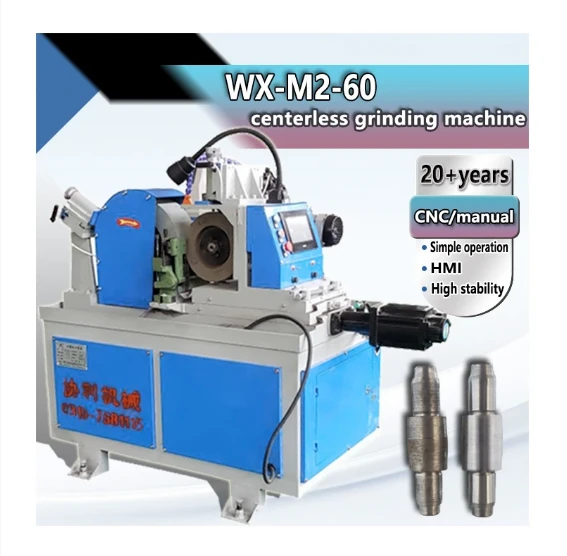
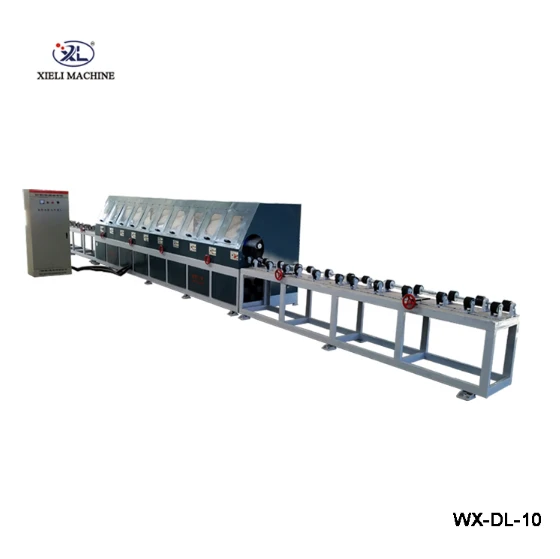
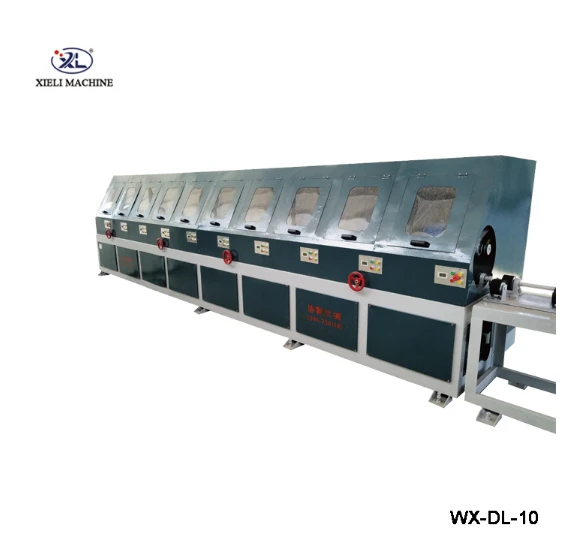
diy centerless grinder products

- Grinding Wheel A robust grinding wheel that suits your material needs. - Regulating Wheel Typically, this is a softer wheel that controls the speed of the workpiece and helps to position it correctly. - Frame A sturdy frame constructed from metal to support the grinding and regulating wheels. - Motor A reliable motor to power the grinding wheel. - Bearings and Shafts To allow smooth rotation of the wheels. - Work Rest A mechanism to support the workpiece during grinding.
Step-by-Step Construction
1. Design Your Frame Start by creating a blueprint. The frame must be solid and allow for adjustments to the height and angle of the grinding wheel and regulating wheel.
2. Mount the Wheels Install the grinding and regulating wheels at the correct alignment. The distance between the wheels is crucial for the proper functioning of your grinder.
3. Attach the Motor Connect the motor to the grinding wheel. Ensure that the motor is securely fastened and that electrical connections are safe and up to code.
4. Install the Work Rest Position the work rest in such a way that it supports the workpiece without interfering with the grinding process.
5. Testing and Adjustments Once assembled, power up the machine and test it with scrap materials. Make necessary adjustments to the wheel alignment and speeds to achieve the desired results.
Safety Considerations
While working on your DIY centerless grinder, safety should always be your top priority. Wear proper personal protective equipment, including safety glasses and hearing protection. Ensure that all components are securely fastened to avoid any accidents during operation.
Conclusion
Building your own DIY centerless grinder can be a rewarding project that enhances your metalworking capabilities. With the opportunity to customize the device, save costs, and develop your skills, the benefits are plentiful. Follow the steps outlined, prioritize safety, and enjoy the journey into precision machining. Happy grinding!