Rebuilding a Cheap Centerless Grinder A Comprehensive Guide
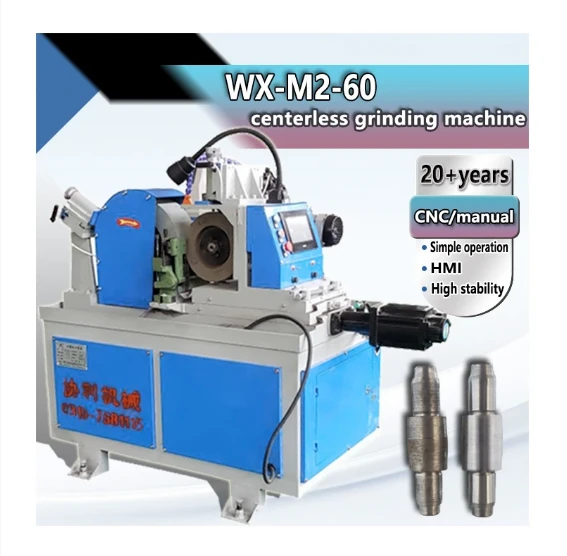
Centerless grinders are invaluable tools in many manufacturing processes, particularly in the production of cylindrical parts. They offer a unique way of reducing the diameter of workpieces without the need for traditional mounting devices. Over time, even the most reliable centerless grinders can show signs of wear and tear, and for those on a budget, a cheap centerless grinder rebuild can be a practical solution. This article will guide you through the process of rebuilding a centerless grinder, focusing on cost-effective methods and essential steps to restore its functionality.
Understanding Centerless Grinding
Before delving into the rebuild process, it is important to understand what centerless grinding involves. Unlike conventional grinders, where the part is held between centers, centerless grinding allows a workpiece to be held between a grinding wheel and a regulating wheel. This setup enables continuous machining, making it an efficient choice for mass production of cylindrical parts.
Assessing the Grinder's Condition
The first step in any rebuild is a thorough assessment of the grinder's condition. Look for signs of excessive wear on the grinding wheel, regulating wheel, and spindle. Check the alignment of the wheels, as improper alignment can lead to inconsistent results. Additionally, inspect bearings and any electrical components for signs of damage. Document all issues to create a clear plan for the rebuild process.
Gathering Necessary Tools and Materials
Once you have a clear understanding of the repairs needed, gather the necessary tools and materials. You will typically need
- Wrenches and screwdrivers for disassembly - Replacement parts (wheels, bearings, seals) - Lubricants and cleaners - Measuring tools to ensure proper alignment - Safety gear (gloves, goggles, etc.)
Opt for quality parts even in a budget rebuild to ensure long-term reliability without breaking the bank.
Disassembly of the Grinder
Begin the rebuild by carefully disassembling the grinder. Take your time to avoid damaging any components. As you remove parts, organize them in a manner that allows for easy reassembly. It’s helpful to take photos or label parts, especially if they are intricate or have specific orientations.
cheap centerless grinder rebuild

Cleaning and Inspection
With the grinder disassembled, clean all parts thoroughly. Use an appropriate solvent to remove grease and grime, paying special attention to hard-to-reach areas. Once clean, inspect each component for any signs of wear. For parts that are damaged or excessively worn, you’ll need to replace them. For example, invest in high-quality grinding wheels, as they are crucial for performance.
Replacing Bearings and Seals
One of the most common issues with older grinders is worn bearings and seals. Replace these components to ensure smooth operation and prevent lubrication leaks. Pay careful attention to the manufacturer’s specifications regarding the type and size of replacement bearings. A tight fit is crucial for operational efficiency.
Reassembly and Alignment
After cleaning and replacing worn parts, it's time to reassemble the grinder. Follow your documented steps from disassembly to make the process smoother. Once fully assembled, focus on aligning the wheels accurately. Proper alignment is vital for achieving the desired tolerances in your grinding operations.
Testing the Grinder
Before returning the grinder to full operation, conduct a series of tests to ensure everything functions smoothly. Start with a dry run to check for any unusual sounds or vibrations. Then, perform a test grind with a waste piece to evaluate the performance. Monitor the finish and dimensions closely, adjusting as needed.
Maintenance and Future Considerations
Post-rebuild, regular maintenance will help extend the life of your centerless grinder. Implement a routine that includes cleaning, lubrication, and periodic inspections. Keep records of any repairs or adjustments made for future reference.
Conclusion
Rebuilding a cheap centerless grinder can significantly extend its life while saving you money compared to purchasing a new machine. By carefully assessing, cleaning, and replacing necessary components, you can restore efficiency and performance without breaking the bank. With proper maintenance, your rebuilt centerless grinder can serve your manufacturing needs for years to come.